
TLDR for the experienced cooks:
- Tikkis: Mix the leftover pulp with grated paneer, roasted besan, salt, and coriander powder, then shallow fry as tikkis.
- Paratha: Knead it into atta with paneer and spices for parathas.
- Idli/Uttapam: Or fold it straight into idli/dosa batter for uttapams or idlis.
No exact measurements needed — the pulp is already dry, so it blends in easily everywhere.
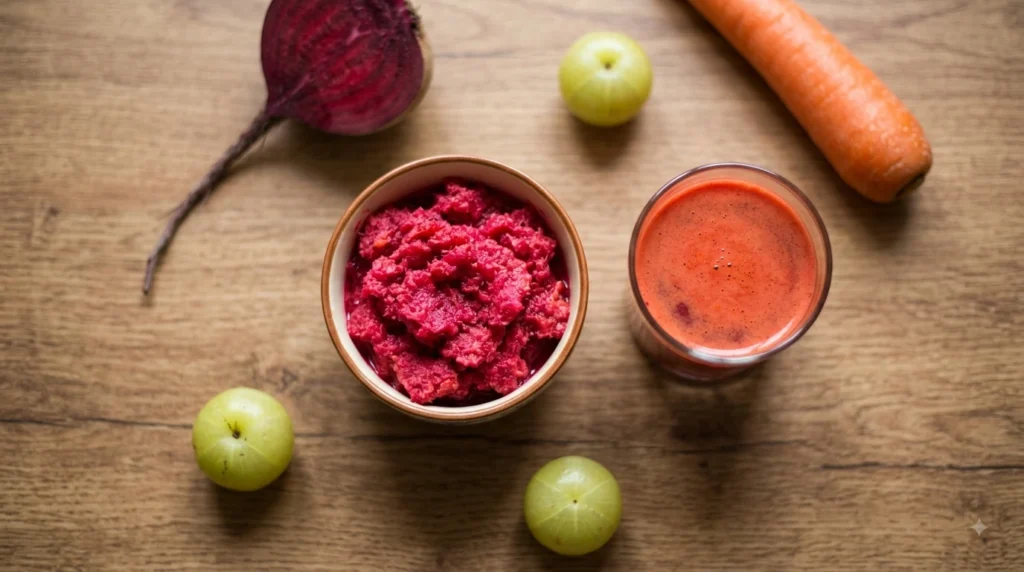
If you’re someone who likes having ABC juice every now and then, and then feels guilty about throwing away the pulp, you’re at the right place. Here I’m sharing 3 recipes you can make using your leftover ABC juice pulp so nothing goes to waste. Well, in my case, the A stands for Amla (Indian gooseberry), though. So, here we go.
1. Beetroot Tikki

Ingredients (makes about 5 small tikkis):
- ABC pulp – 100g (roughly 1 cup, packed)
- Paneer – 50g, grated
- Roasted besan (gram flour) – 2–3 tbsp
- Salt – to taste
- Coriander powder – ½ tsp
- Red chilli powder – ¼ tsp (optional)
- Ghee – 2 tbsp, for shallow frying
Step-by-step process:
- Roast the besan first. Add the besan to a dry pan and roast it on low flame for 2–3 minutes, stirring constantly, until it turns slightly darker and starts smelling nutty. This is an important step — raw besan will make the tikkis taste chalky and take much longer to cook through. Set it aside to cool a little.
- Prep your pulp. Take the leftover pulp from your ABC juice and put it in a mixing bowl. If your pulp feels very coarse or has large fibrous bits (especially from carrot or beetroot), you can pulse it once or twice in a mixer for a smoother texture — this is optional and just a matter of preference.
- Add the paneer. Grate the paneer directly into the bowl with the pulp. Fresh, soft paneer works best here as it blends in easily and adds a nice creaminess to the tikkis.
- Bring in the besan and spices. Add the roasted besan, salt, and coriander powder (and red chilli powder if using). Mix everything together with your hands or a spoon.
- Check the consistency. The mixture should hold together when pressed, without being sticky or too dry. Since the pulp has already had its juice extracted, you generally won’t need to add any water. If it feels too dry to bind, add besan a teaspoon at a time; if it feels wet, add a little more roasted besan.
- Shape the tikkis. Take a small portion of the mixture (about 2 tablespoons) and roll it into a ball between your palms. Gently flatten it into a disc, about ½ inch thick. Repeat for the rest of the mixture. No resting time needed — you can fry them right away.
- Heat the ghee. Place a flat pan or tawa on the stove and add the ghee. Let it heat on medium flame until it’s shimmering but not smoking.
- Fry the tikkis. Carefully place the tikkis in the pan, leaving some space between each. Reduce the flame to low-medium — this is key for a crispy exterior without burning the outside before the inside cooks through. Cook for about 3–4 minutes on one side, then flip gently using a spatula. Cook the other side for another 3–4 minutes, until both sides are golden brown and crisp.
- Serve. Take them off the pan and serve hot with mint chutney, ketchup, or a side of curd. They also make a great tea-time snack.
Tips for beginners:
- Don’t skip roasting the besan — it’s what gives the tikkis their structure and cuts down cooking time.
- Keep the flame low-medium throughout; a high flame will brown the outside while leaving the inside undercooked.
- If your tikkis are breaking while flipping, the mixture may need a little more besan to bind better.
2. Beetroot Paratha
Ingredients (makes 4–5 parathas):
- Whole wheat atta – 1.5 cups
- ABC pulp – ½ cup
- Paneer – 50g, grated
- Salt – to taste
- Carom seeds (ajwain) – ¼ tsp (optional, aids digestion)
- Red chilli powder – ¼ tsp (optional)
- Ghee or oil – for cooking, plus a little for the dough
- Extra atta – for dusting while rolling
Step-by-step process:
- Combine the dry and wet ingredients. In a large mixing bowl, add the atta, grated paneer, salt, ajwain, and chilli powder if using. Add the pulp on top.
- Knead the dough. Start bringing the mixture together with your hands. The moisture from the pulp and paneer is usually enough to form a soft dough, but add water a tablespoon at a time only if it feels too dry. Knead for 3–4 minutes until you get a smooth, pliable dough, similar to what you’d use for a regular chapati or paratha. Add a teaspoon of ghee or oil to the dough and knead once more — this makes rolling easier and the parathas softer.
- Rest the dough. Cover it with a damp cloth and let it rest for about 15–20 minutes. This step is optional but helps the dough become more elastic and easier to roll.
- Divide and roll. Divide the dough into equal-sized balls. Dust your rolling surface with a little atta, and roll each ball into a circle about 6–7 inches in diameter, similar to how you’d roll a regular paratha. Don’t worry about it being perfectly round — taste matters more than shape here.
- Cook on the tawa. Heat a tawa or flat pan on medium flame. Place the rolled paratha on it and let it cook for about 30–40 seconds, until you see small bubbles forming on the surface. Flip it over.
- Add ghee and cook both sides. Spread a little ghee on the surface facing up, then flip again and let that side cook until golden-brown spots appear. Repeat on the other side with a bit more ghee. Press gently with a spatula at the edges to help it cook evenly and puff up slightly.
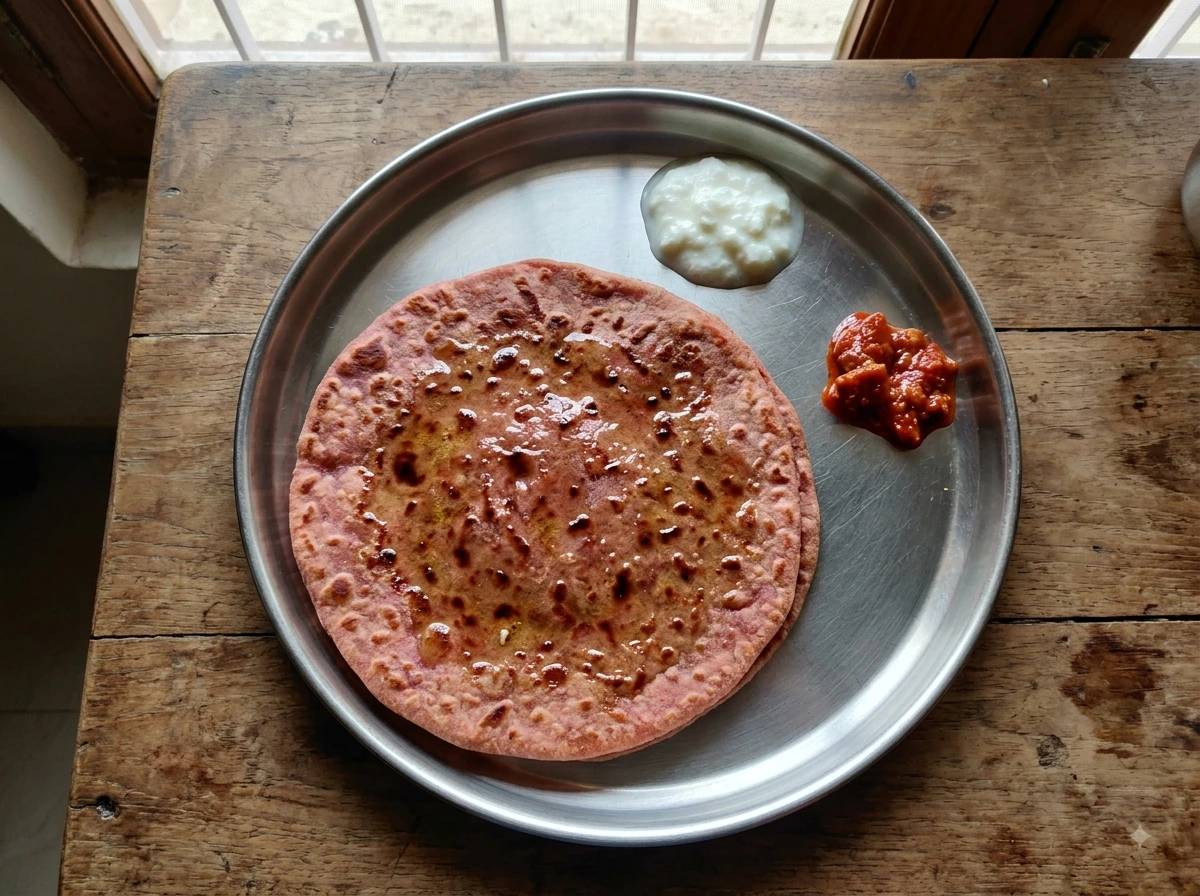
- Serve. Take it off the tawa once both sides have nice golden-brown spots. Serve hot with curd, pickle, or a simple raita.
Tips for beginners:
- If you want extra protein, replace part of the regular atta with besan or a high-protein atta blend available at most grocery stores.
- Resting the dough isn’t compulsory, but it does make rolling noticeably easier if you’re new to making parathas.
- Keep the flame at medium — too high, and the paratha will brown on the outside before cooking through.
3. Uttapam (or Idli)
Ingredients (for about 4 uttapams or 8–10 idlis):
- Idli/dosa batter – 2 cups (store-bought or homemade, fermented)
- ABC pulp – ¼ to ⅓ cup
- Ghee or oil – for cooking uttapams
- Chopped onion, tomato, or coriander – optional, for topping uttapams
- Idli steamer/mould – if making idlis
Step-by-step process for Uttapam:
- Mix the pulp into the batter. Take your regular idli/dosa batter in a bowl and add the pulp to it. Mix well until the pulp is evenly distributed and there are no lumps. The batter should still be pourable but slightly thicker than usual dosa batter — that’s normal, since the pulp adds some body to it.
- Heat the tawa. Place a flat tawa on medium flame and let it heat up. Sprinkle a few drops of water on it to check — if they sizzle and evaporate quickly, it’s ready.
- Pour the batter. Grease the tawa lightly with oil or ghee. Pour a ladleful of the batter in the centre and spread it gently into a thick, round shape (uttapams are meant to be thicker than dosas, so don’t spread it too thin).
- Add toppings (optional). If you like, sprinkle some chopped onion, tomato, or coriander on top while the batter is still wet, and press gently so they stick.
- Cook with ghee. Drizzle a little ghee around the edges and on top. Let it cook on medium flame for 2–3 minutes until the base turns golden-brown and slightly crisp, and the top looks mostly set.
- Flip and finish. Flip it over carefully and cook the other side for another 1–2 minutes. Remove once both sides are cooked through.
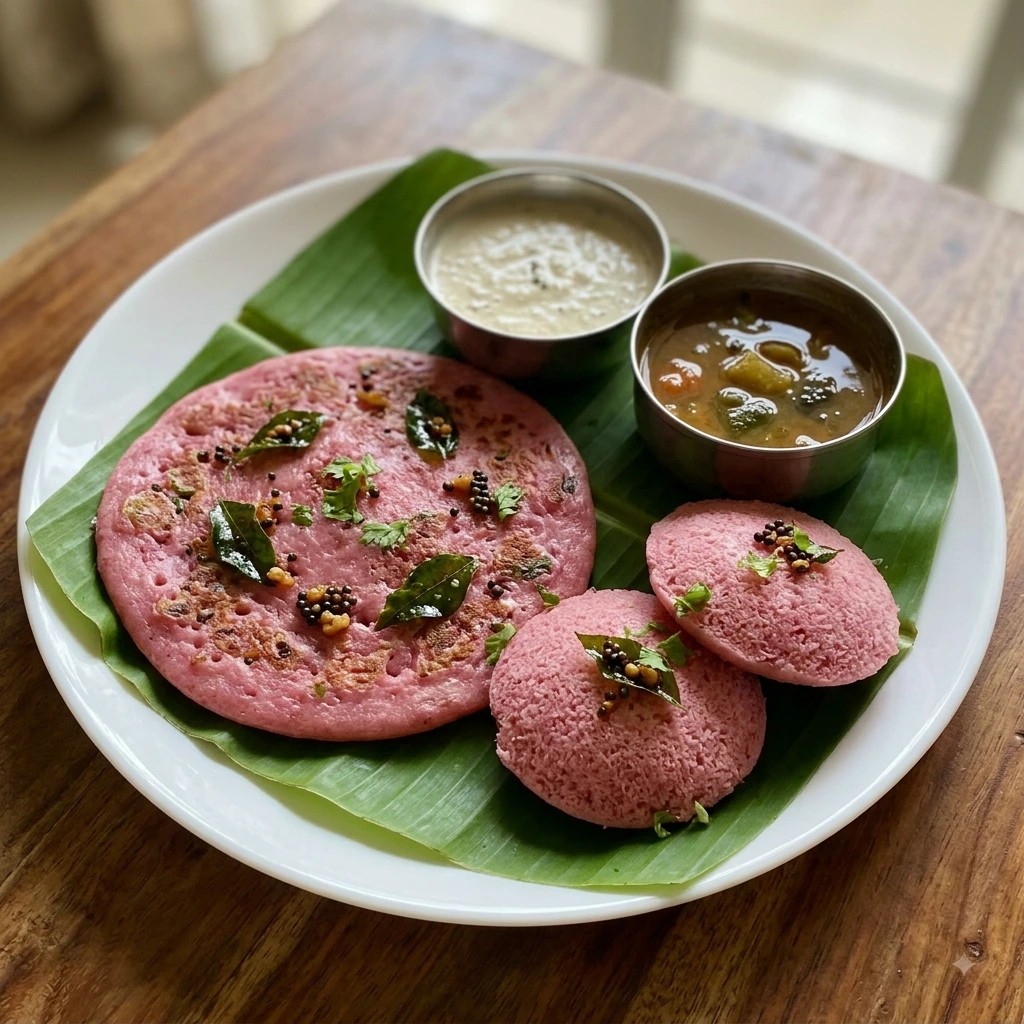
- Serve. Serve hot with coconut chutney or sambar, just like you would a regular uttapam.
Step-by-step process for Idli (the lighter option):
- Mix the pulp into the batter the same way as above.
- Grease your idli moulds lightly with oil or ghee.
- Pour the batter into each mould, filling about ¾ of the way.
- Steam in an idli steamer or a regular steamer/pressure cooker (without the whistle) for 10–12 minutes, or until a toothpick inserted comes out clean.
- Let them cool for a minute before demoulding, then serve hot with chutney or sambar.
Tips for beginners:
- Add the pulp gradually and check the batter’s consistency as you go — too much pulp can make the batter too thick to spread or steam properly.
- If you don’t have an idli steamer, a large pot with a steamer rack and a lid works just as well.
- The pink/reddish colour from the beetroot pulp makes these idlis look especially fun for kids — a good trick to sneak in some extra nutrition.
In case you’re worried about the amla or ginger overpowering the flavour of these dishes, don’t be — you honestly won’t even realise they’re in there. And one more thing: with these recipes, you don’t need to stress about exact measurements. Just follow your heart, and they’ll turn out great.